

Dessert table ideas are creative plans for arranging a curated selection of sweets, decor, and display elements that delight guests visually and gastronomically at weddings, parties, and family celebrations. The best displays combine three non-negotiable elements: a strong focal centerpiece, a cohesive color palette, and layered height variation that draws the eye across the table. A standard dessert table serves 3–5 dessert pieces per guest across 4–6 varieties, anchored by one showpiece. That formula is the foundation every event host should build from, whether the occasion is a backyard birthday or a formal wedding reception.
1. Dessert table ideas start with a clear theme
A defined theme is the single most important decision you make before buying one cupcake or renting one linen. The theme determines your dessert choices, your color palette, your signage, and your display props. Without it, even expensive desserts look like an afterthought.
Popular theme directions include rustic farmhouse, modern chic, garden party, seasonal harvest, and cultural heritage. Each one signals a different set of colors, textures, and dessert types. A rustic theme calls for wooden boards, mason jars, and naked cakes. A modern chic setup uses clean white risers, geometric stands, and monochrome macarons.
- Rustic: Burlap runners, wildflowers, honey jars, and pound cakes
- Modern chic: White and gold palette, geometric risers, mirror signage
- Garden party: Pastel florals, tiered stands, fruit tarts, and lemon bars
- Seasonal harvest: Pumpkin, cinnamon, and apple desserts with warm amber tones
- Cultural heritage: Regional sweets, traditional patterns, and family recipe cards
Pro Tip: Pick your theme before you pick your desserts. The theme is the brief. Every item on the table should pass the test: “Does this belong in this world?”
2. How to build a color palette that holds the table together
A two or three color palette applied consistently across linens, labels, and desserts makes a table look carefully curated rather than assembled. That consistency is what separates a professional display from a crowded buffet.
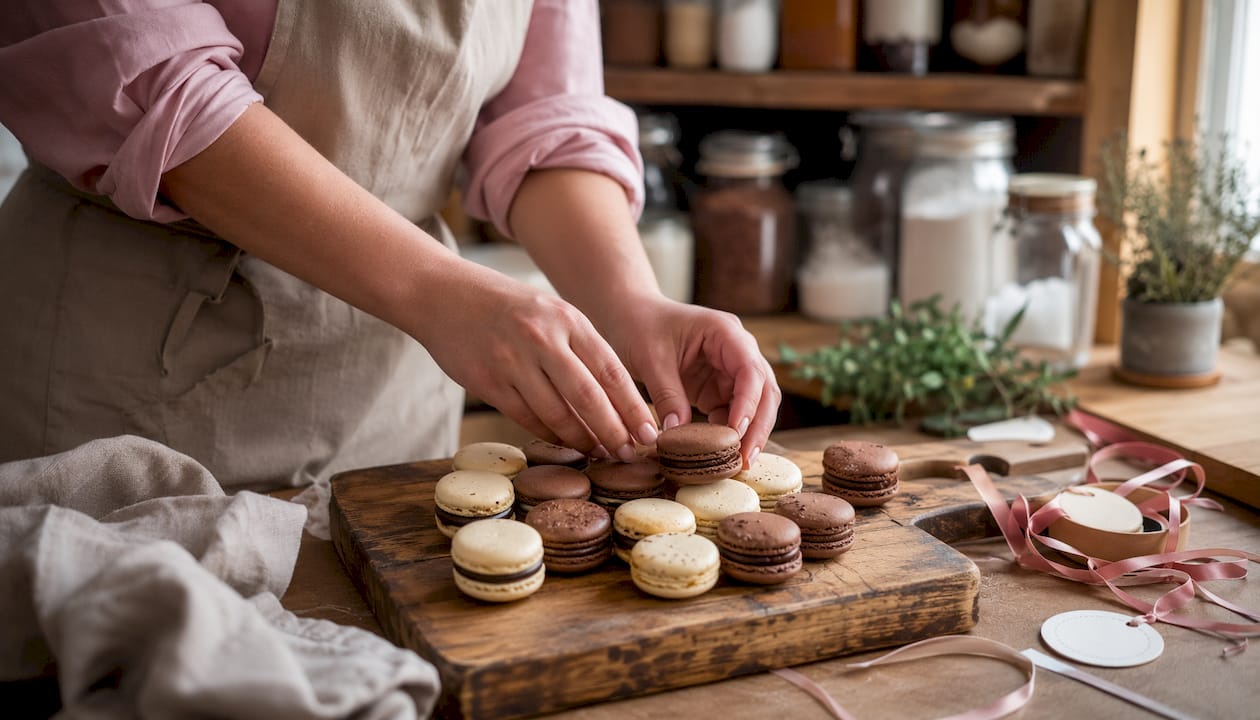
Choose one dominant color, one accent color, and one neutral. For a wedding dessert table, dusty rose, gold, and ivory is a classic combination. For a birthday, navy, white, and silver reads as polished and festive. Apply the palette to your tablecloth, dessert labels, ribbon on jars, and even the color of your florals.
Repeating design elements across the table reinforces the theme visually. If your labels use a serif font in gold, your signage should match. If your florals are blush, your macarons should echo that tone. Repetition creates rhythm, and rhythm creates the impression of intention.
3. Choosing a focal centerpiece that anchors the display
Every great dessert display needs one hero item that commands attention. For most weddings and milestone parties, that is a tiered cake. For casual celebrations, it could be a dramatic floral arrangement or an oversized cookie tower.
The 14–22 inch elevation rule for the centerpiece cake is the standard professionals follow. Placing the hero cake on a pedestal or plinth at that height prevents it from being visually lost among surrounding items. It also creates the vertical anchor that the rest of the table builds down from.
Position the centerpiece at the back center of the table. Flank it with mid-height items like cupcake towers or tiered trays. Place low, grab-and-go items like cake pops and truffles at the front. That three-tier arrangement guides guest movement naturally from the back focal point to the front serving items.
4. Dessert selection: balancing variety, texture, and guest needs
A balanced dessert menu outperforms a larger one. Diversity in texture and sweetness level improves guest satisfaction more than sheer quantity. Plan for 3–5 pieces per guest and 4–6 distinct varieties, not 12 similar options in different colors.
Mix textures deliberately:
- Crisp: Biscotti, shortbread, meringue kisses
- Creamy: Mousse cups, cheesecake bites, panna cotta
- Chewy: Brownies, blondies, caramel squares
- Decorative: Macarons, petit fours, custom edible cupcake toppers
Dietary considerations are no longer optional. Label every item clearly with allergen information. Offer at least one gluten-free option, one vegan option, and one nut-free option. Place those items at a clearly marked section of the table so guests with restrictions can serve themselves confidently.
For wedding dessert table planning, staple varieties include a tiered cake, macarons, cake pops, mini cheesecakes, and a seasonal fruit tart. That combination covers every texture category and appeals to a wide range of palates.
5. Styling techniques: height, texture, and fresh decor
Height variation transforms a simple food station into an elegant centerpiece by guiding guest focus. A flat table layout is the most common mistake event hosts make. Every item sitting at the same level creates visual monotony and makes the table feel smaller than it is.
Build three height zones:
- Hero zone (14–22 inches): Centerpiece cake on a pedestal or plinth
- Mid zone (6–12 inches): Cupcake towers, tiered trays, cake stands
- Front zone (table level): Truffles, cake pops, macarons in small dishes
Incorporate fresh elements to add life and color. Eucalyptus sprigs, garden roses, and sliced citrus placed between display pieces add organic texture that no prop can replicate. Use food-safe florals only, and keep them away from direct contact with unwrapped desserts.
Pro Tip: A professional-looking dessert table on a budget is achievable under $30 for decor using risers, a two-color palette, and consistent labeling. Neutral-colored risers and cake stands in white or wood tones work across every theme, so they are worth buying once and reusing.
Avoid overcrowding. Each item needs breathing room. A table with 40% open space looks more abundant than one packed edge to edge.
6. Practical setup and timing for a flawless presentation
Setup order determines whether your table looks polished or rushed. Start with the structural layer: lay your linens, position your risers, and install your backdrop. Then add non-perishable decor like signage, candles, and florals. Fresh desserts come last.
Place fresh desserts no more than 30–45 minutes before guests arrive. That window keeps items fresh and prevents cream-based desserts from weeping or losing structure in warm venues.
Follow this setup sequence:
- Lay the tablecloth and any runners
- Position risers, pedestals, and cake stands
- Install the backdrop or signage
- Add non-perishable decor: candles, florals, labels
- Place packaged or shelf-stable desserts
- Add fresh desserts 30–45 minutes before guest arrival
- Set plates, napkins, and utensils at table level
Keep plates and napkins at table surface level, not stacked on elevated risers. Stacked plates at height tip easily and create a safety hazard in a busy event space. Flat placement also speeds up guest flow.
Pro Tip: Assign one person to monitor the table during the event. They refill items, straighten displays, and remove empty vessels before the table starts to look picked over.
For long events, reserve 20–30% of your dessert inventory in a controlled storage area. Bring those items out midway through to keep the table looking full and fresh. A picked-over table in the last hour of an event leaves a poor final impression.
7. Creative themed dessert table ideas for every occasion
Themed dessert bar inspiration works best when the theme connects to the guest of honor or the event’s story. Generic themes look fine. Personal themes create moments guests remember.
- Rustic wedding: Naked cakes, honey jars, lavender shortbread, and wildflower arrangements on reclaimed wood boards
- Modern chic wedding: White chocolate bark, gold-dusted truffles, monochrome macarons, and custom wedding cookie toppers printed with the couple’s photo
- Fall harvest party: Pumpkin spice cupcakes, caramel apples, pecan bars, and cinnamon donuts in amber and burgundy tones
- French elegance: Macarons in pastel towers, mille-feuille, crème brûlée cups, and gold-lettered signage
- Hobby or sport theme: Desserts shaped or decorated to reflect the guest’s passion, from baseball glove cookies to guitar-shaped cakes
- Cultural heritage: Regional sweets like baklava, tres leches, or mochi displayed alongside recipe cards that tell the story behind each item
Custom elements add the most memorable layer to any theme. Personalized edible toppers, like those from Sugarprintsbyalexis, let you print a couple’s wedding photo, a child’s face, or a custom illustration directly onto a cookie or cake. That level of personalization turns a dessert into a keepsake. Edible butterfly cupcake toppers in coordinating colors, for example, tie a garden party theme together across every item on the table.
Family recipes and regional specialties add meaningful texture that no store-bought item can match. A grandmother’s pound cake displayed on a vintage stand tells a story. That story is what guests talk about after the event ends.
Key takeaways
The most effective dessert table combines a clear theme, a two-to-three color palette, layered height variation, and 4–6 dessert varieties planned at 3–5 pieces per guest.
| Point | Details |
|---|---|
| Theme first, desserts second | Choose your event theme before selecting any desserts or decor to keep every element cohesive. |
| Limit your color palette | Apply two or three colors consistently across linens, labels, and desserts for a curated look. |
| Build three height zones | Use hero, mid, and front zones to create visual movement and prevent a flat, monotonous display. |
| Time fresh desserts carefully | Place perishable items 30–45 minutes before guests arrive to maintain freshness and food safety. |
| Reserve inventory for replenishment | Hold back 20–30% of desserts to restock mid-event and keep the table looking abundant. |
What I’ve learned from designing dessert tables that actually work
The biggest mistake I see hosts make is confusing abundance with impact. More desserts do not equal a better table. A table with eight well-chosen varieties, displayed with intention, outperforms a table with twenty options crammed together every time.
The details that repeat across the table are the ones guests notice subconsciously. When the ribbon on the label matches the color of the florals, which matches the color of the macarons, guests feel the care without being able to name it. That invisible effort is what makes a table feel designed rather than decorated.
Timing is where most hosts underestimate the work. Setting up a dessert table is not a 20-minute task. The structural setup alone takes an hour. Build that into your event timeline and assign a dedicated person to manage the table during the event. Replenishing desserts mid-event is not optional at gatherings longer than two hours.
My best practical investment has been a set of neutral-colored serving pieces: white ceramic pedestals, clear glass jars, and natural wood boards. They work for rustic themes, modern themes, and everything between. Buying reusable neutrals once saves money and setup time at every future event.
— Alexis
Custom edible toppers that complete your dessert display
Sugarprintsbyalexis creates custom edible toppers that add a personalized layer to any dessert table, whether you are planning a wedding, birthday, or family celebration.
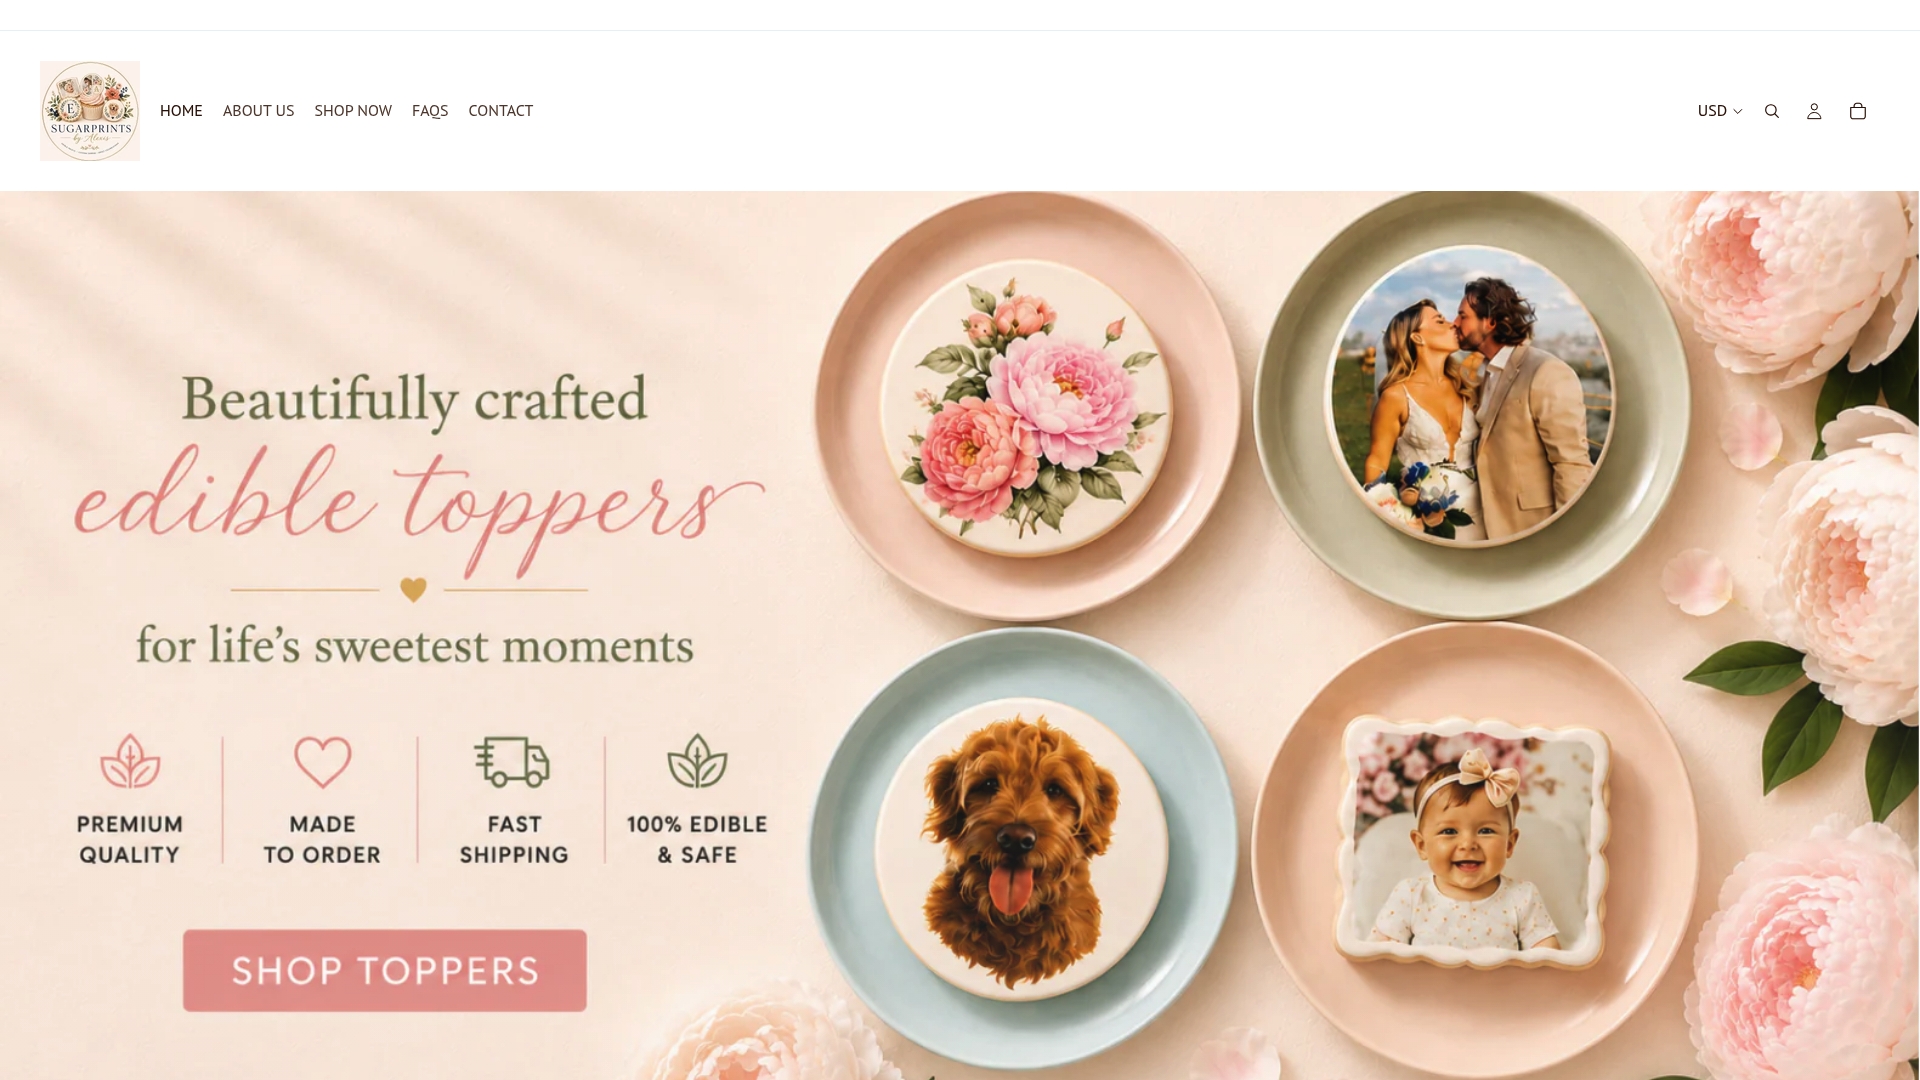
Each topper is crafted from certified edible materials and printed with bespoke designs, from pressed wildflower patterns to full photo prints. A custom heart cake topper with the couple’s photo turns the centerpiece cake into a personal statement. Personalized wedding cookie toppers give guests a take-home treat that doubles as a favor. Every design is available in multiple styles and sizes to fit your theme and table layout. Browse the full collection at Sugarprintsbyalexis to find the right topper for your next event.
FAQ
How many desserts do I need per person for a dessert table?
Plan for 3–5 dessert pieces per guest across 4–6 varieties. That range accounts for guests who sample multiple items and those who take only one or two.
What is the best color palette for a dessert table?
Limit your palette to two or three colors applied consistently across all decor and desserts. One dominant color, one accent, and one neutral is the most reliable formula.
When should I set up fresh desserts on the table?
Place fresh and cream-based desserts no more than 30–45 minutes before guests arrive. Set structural decor, risers, and non-perishable items well in advance.
How do I prevent my dessert table from looking flat?
Use three height zones: a hero item at 14–22 inches, mid-height stands at 6–12 inches, and front items at table level. Height variation is the single most effective technique for creating visual impact.
How do I keep a dessert table looking full during a long event?
Reserve 20–30% of your dessert inventory in a cool storage area and bring it out midway through the event. Assign one person to monitor and replenish the table throughout the celebration.
Recommended
- CUSTOM 40th BIRTHDAY Photo Drink Toppers: EDIBLE Wafer Paper Circles, – SugarPrints by Alexis
- CUSTOM BIRTHDAY Drink Toppers: EDIBLE Wafer Circles, Floating Cocktail – SugarPrints by Alexis
- CUSTOM PHOTO BIRTHDAY Drink Toppers: Edible Wafer Circles Floating Coc – SugarPrints by Alexis
- CUSTOM WEDDING PHOTO Cookie Toppers: Edible Icing Sheets, Personalized – SugarPrints by Alexis